


If you’ve ever walked past a lavender bush and thought, “I wish I could have five more of these,” then good news—you can! Propagating lavender from cuttings is one of the most cost effective, satisfying, and surprisingly simple ways to expand your garden. I’ve had so much success with this process and now have lavender as far as the eye can see!
Whether you’re filling raised beds, lining a walkway, or planning a dreamy cottage core hillside of purple blooms, you don’t need to buy a dozen new plants. You can simply grow new lavender from the one you already have, or you can take cuttings from a friend.
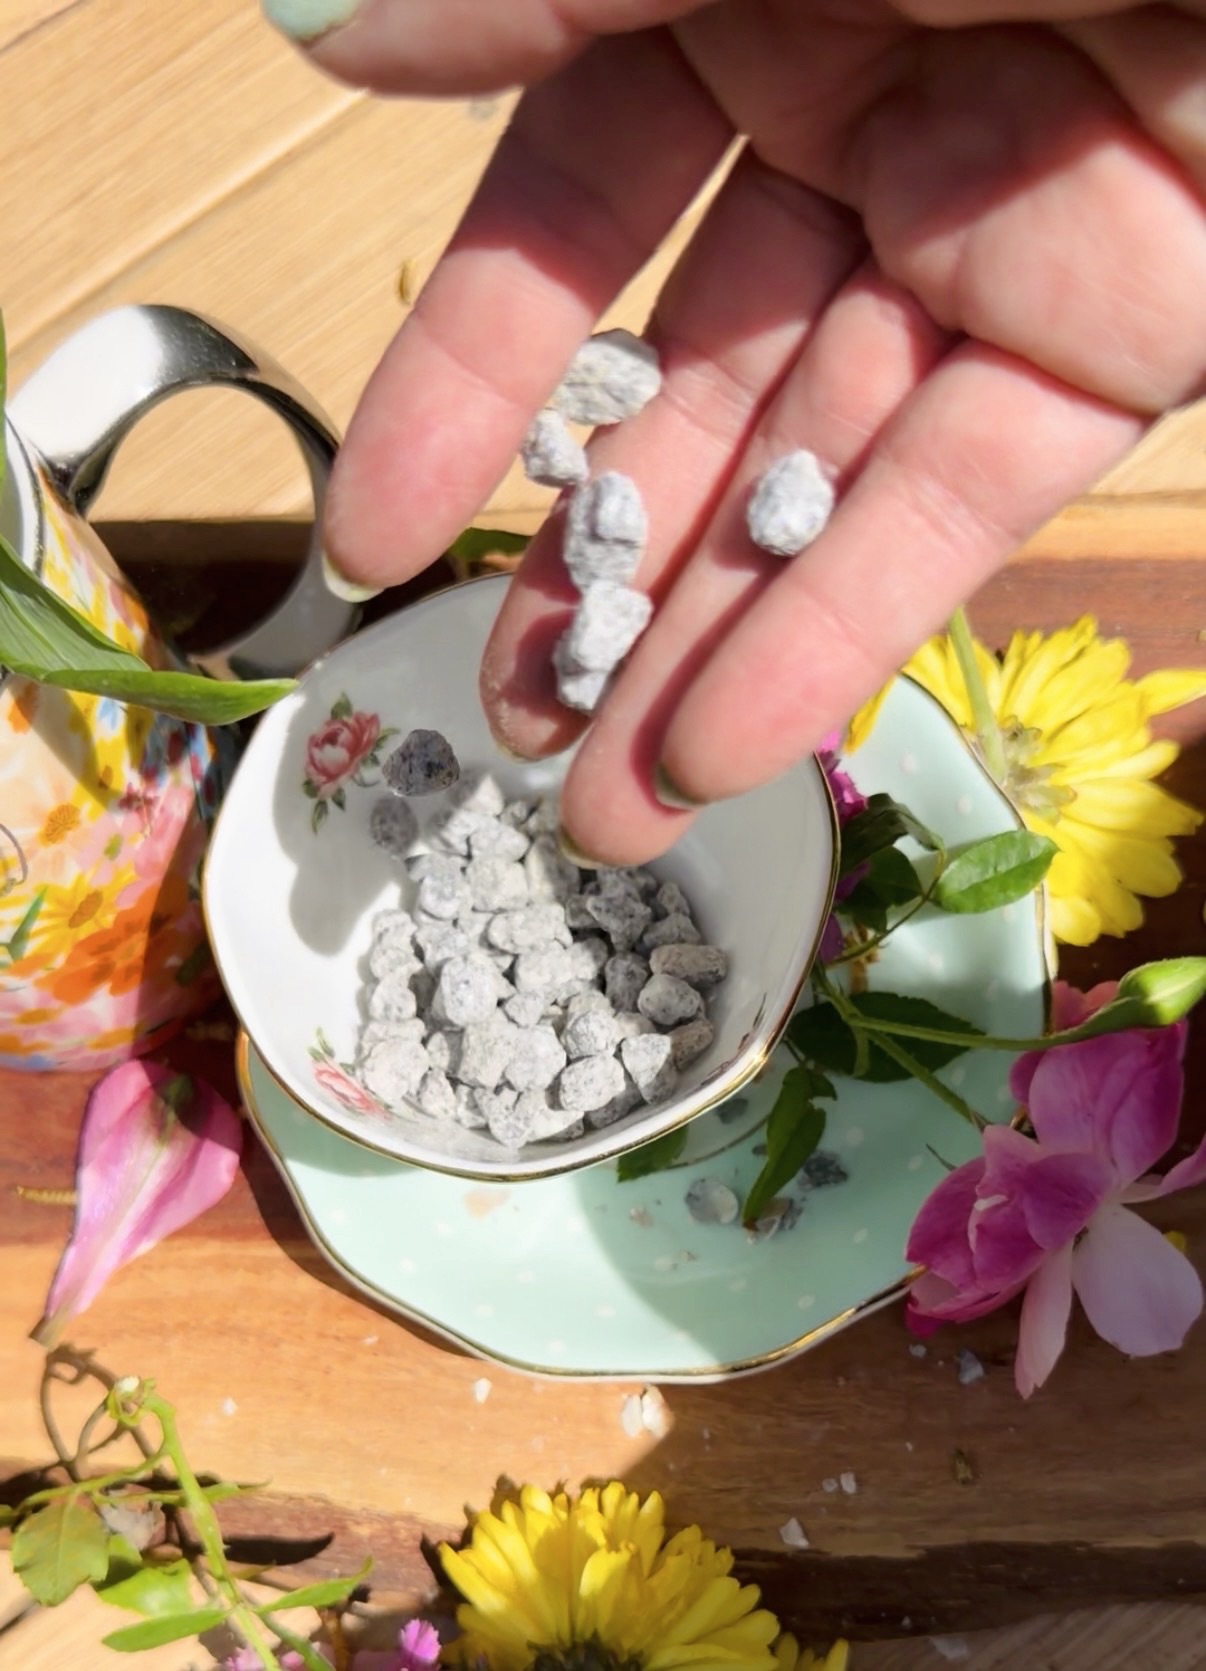
The rooting hormone I used, found here!
Why Propagate Lavender Instead of Starting From Seed?
Lavender seeds are… let’s say humbling. They take a long time to sprout, they require more patience than most of us have on a Tuesday in March, and the plants are not always true to the parent variety.
Cuttings, however?
- Reliable (clones of the mother plant)
- Faster growing
- Stronger start
- Free 99, which is our favorite price
When you take a cutting, you’re making an exact genetic match of the lavender you already love. Whether it’s the one that flourishes despite neglect or the one that smells like heaven after rain.
Best Time to Take Lavender Cuttings
You can propagate lavender almost any time the plant is actively growing, but the best seasons are:
- Late spring
- Early summer
- Early fall (in warmer climates)
Spring and early summer cuttings grow the fastest. Fall cuttings root well but grow slower over winter.
What You’ll Need
- Sharp, clean pruning shears
- A small pot or tray
- Well-draining soil (mix of potting soil + perlite is ideal)
- Optional: rooting hormone
- A plastic dome or clear bag (for humidity)
- Parent lavender plant willing to donate
Step-by-Step: Propagating Lavender From Cuttings
1. Choose the Right Stem
Pick a stem that is:
- Not woody
- Not new and flimsy
- Right in the goldilocks zone—semi-soft, slightly flexible
Aim for a piece about 4–6 inches long.
2. Make a Clean Cut
Using disinfected shears, cut the stem below a leaf node (where leaves meet the stem).
This is where the roots will form.

3. Strip the Lower Leaves
Remove all leaves from the bottom half of the cutting.
Leave the top leaves since your cutting still needs to photosynthesize.
4. Dip in Rooting Hormone (Optional but Helpful)
Lavender can root without it, but rooting hormone increases success and speed.
If you’re avoiding synthetic products, ground cinnamon is a natural antifungal alternative. It’s not as effective, but still helpful.
The rooting hormone I used, found here!

5. Plant in Well-Draining Soil
This part is crucial—lavender despises sitting in wet soil.
Use:
- ½ potting mix
- ½ perlite or coarse sand
Insert the cutting 1–2 inches deep, firm the soil around it.

6. Create a Humid Mini Greenhouse
Cover with:
- A clear cup
- Plastic dome
- Light bag
This traps humidity while the cutting develops roots.
Important: Keep cover off the leaves to prevent rot.
Place it in bright, indirect light and never direct sun at this stage.
7. Water Lightly
Damp, not soggy.
If you wonder whether to water… probably don’t.
Lavender thrives on slight neglect, even as a baby.

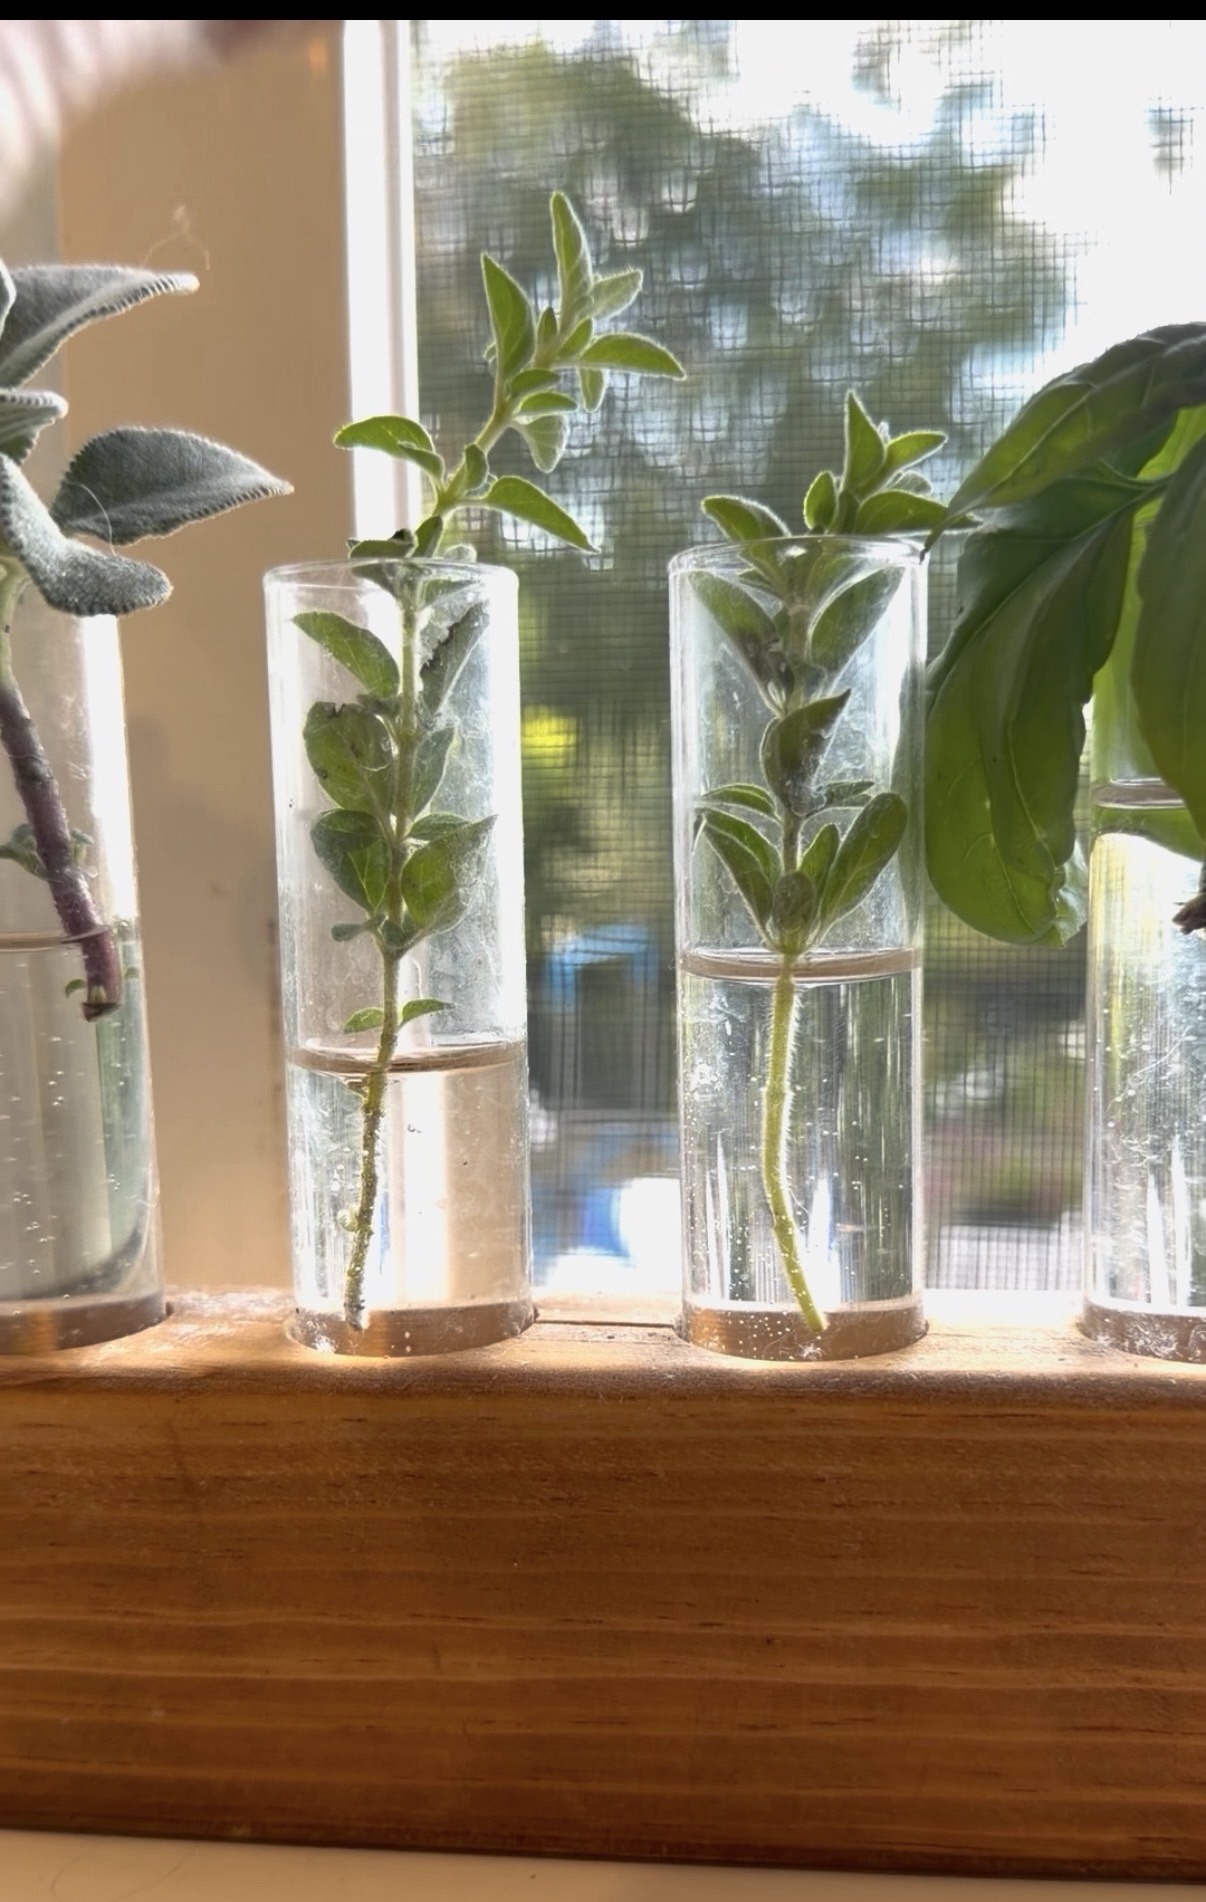
When Will You See Roots?
Lavender typically roots in:
- 3–6 weeks in warm months
- 6–10 weeks in cooler weather
You’ll know it rooted when:
- You see new growth
- The plant resists gentle tugging (don’t yank!)
Once rooted, remove the humidity cover and gradually introduce it to more direct sun.
Transplanting Your New Lavender Plants
When roots are well-established:
- Harden them off outdoors for a week
- Plant in full sun
- Give them room since lavender needs airflow
- Water deeply but less often
Remember: lavender prefers drought over overwatering.
Common Propagation Problems
| Trouble | Likely Cause |
| Stem turns mushy | Too much water |
| Leaves dry up | Too much sun / Not enough humidity |
| Mold in container | No airflow |
| No roots after 8+ weeks | Cutting was too woody or too new |
The Most Rewarding Part
One day, you’ll look out and see a row of thriving lavender: buzzing with bees, waving in the breeze, and realize every single plant came from the one you started with.
Propagation isn’t just gardening; it’s multiplication.
It’s creation from creation.
And it’s one of the most magical parts of growing anything from your own hands.
Affiliate links may be used. I earn a small commission if you shop through them (no extra cost to you). Thank you for supporting our homestead!


Leave a Reply